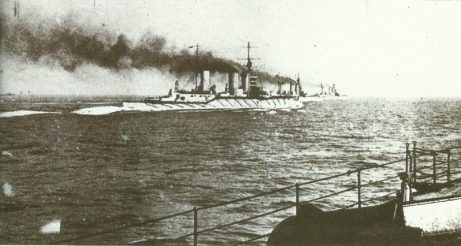
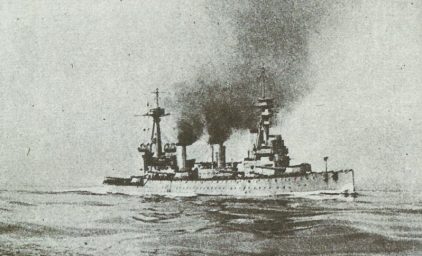
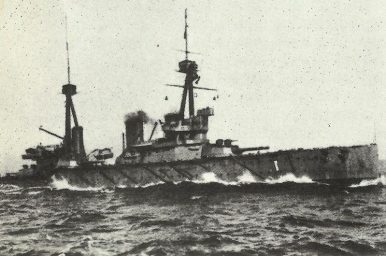
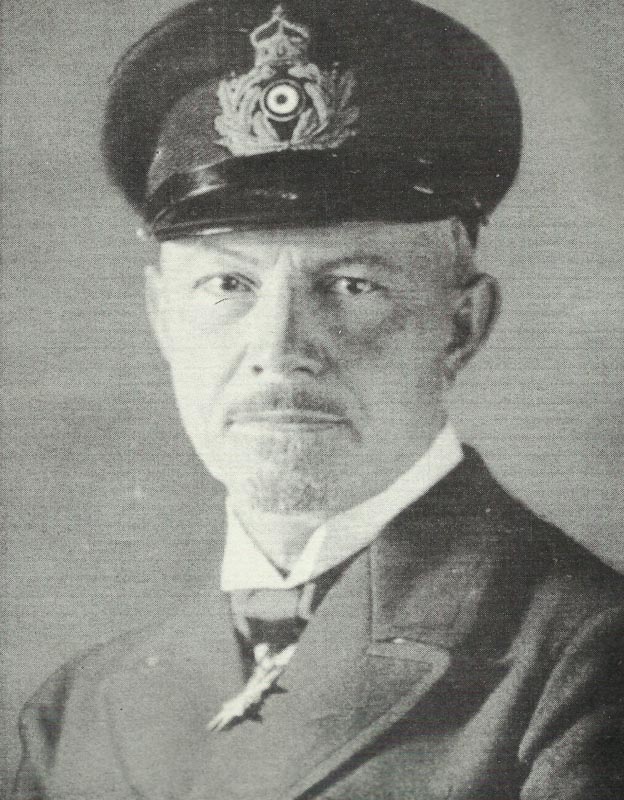
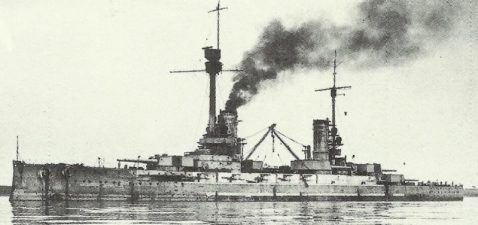
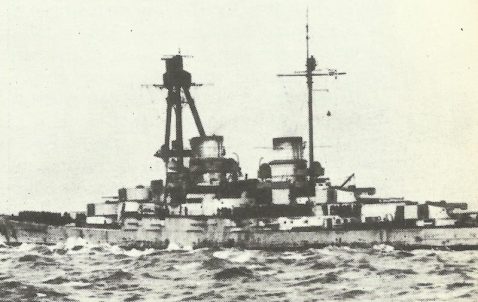
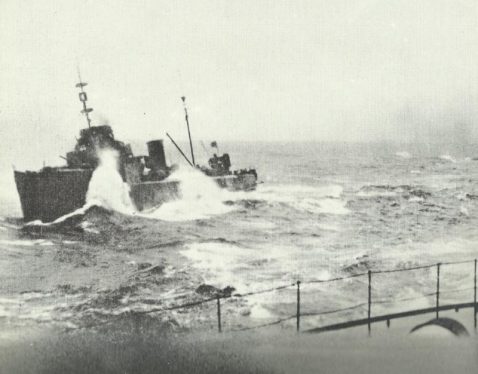
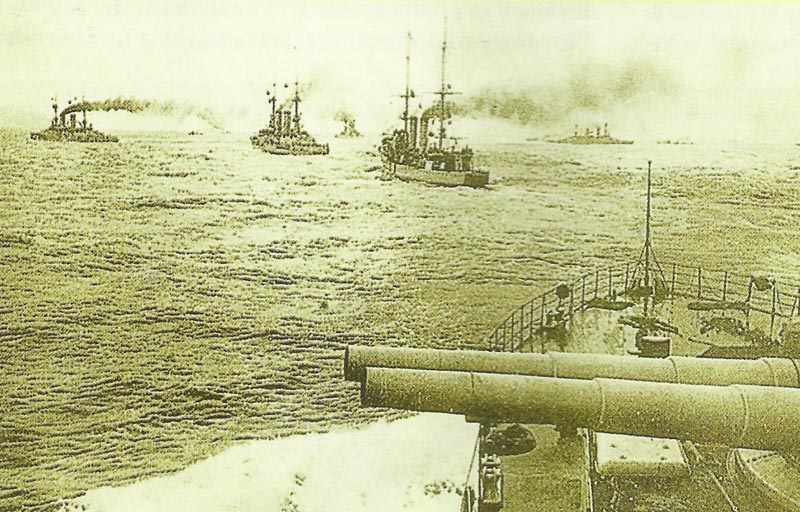
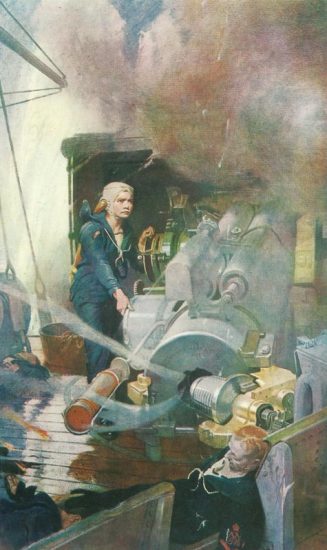
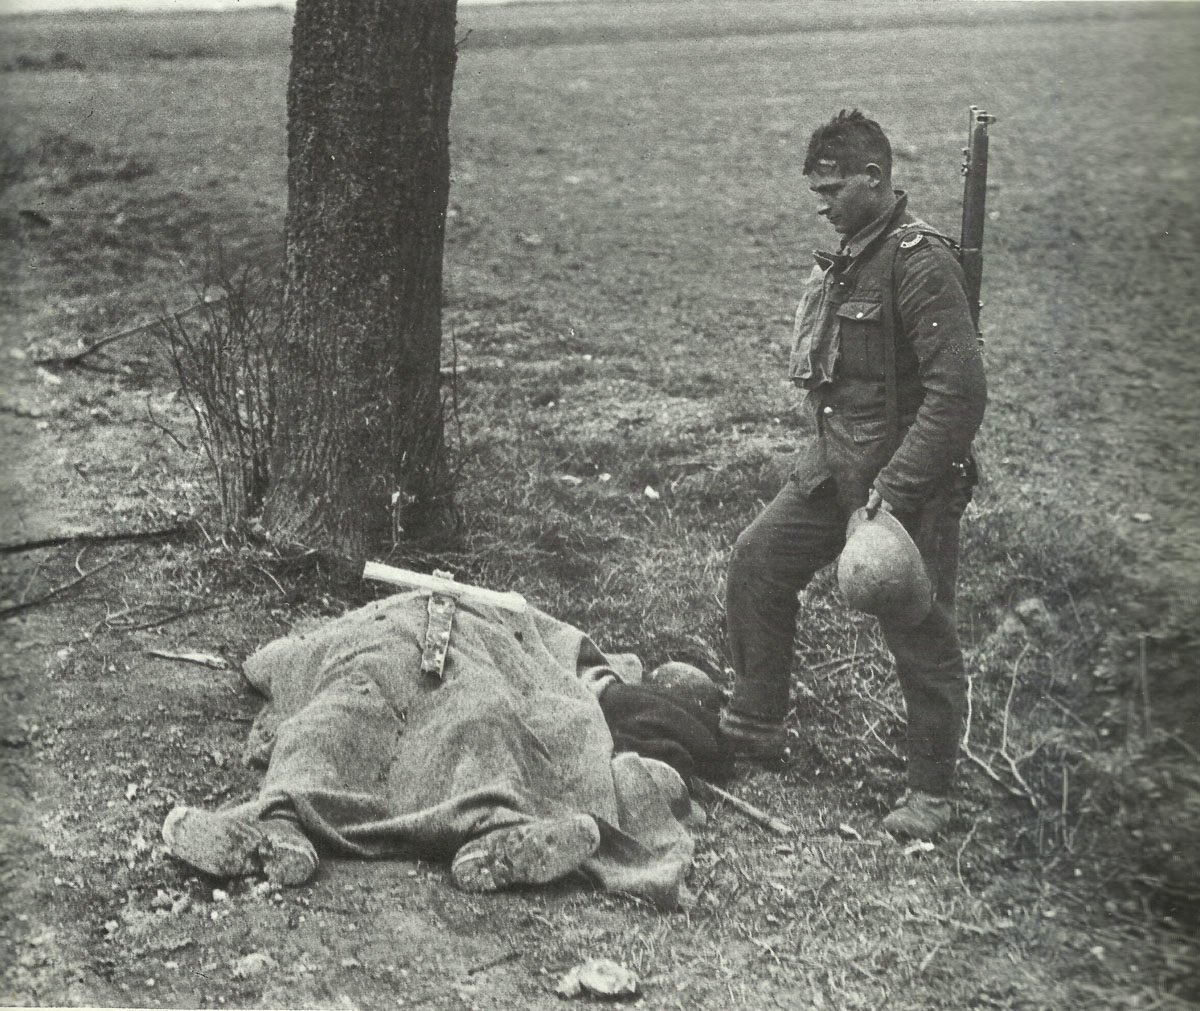
The largest naval battle in history, which took place at Jutland on May 31 to June 1, 1916.
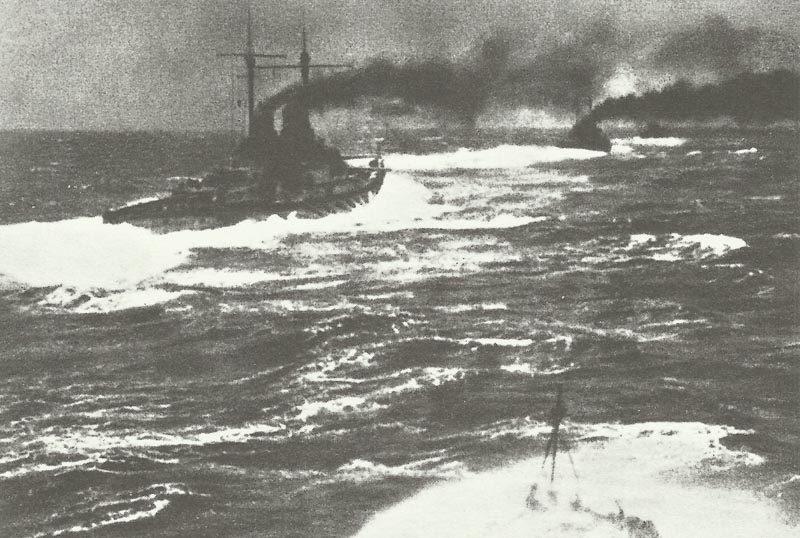
Naval forces, battlecruiser and battle fleet action, night action, and losses at Jutland.
Battle of Jutland
Table of Contents
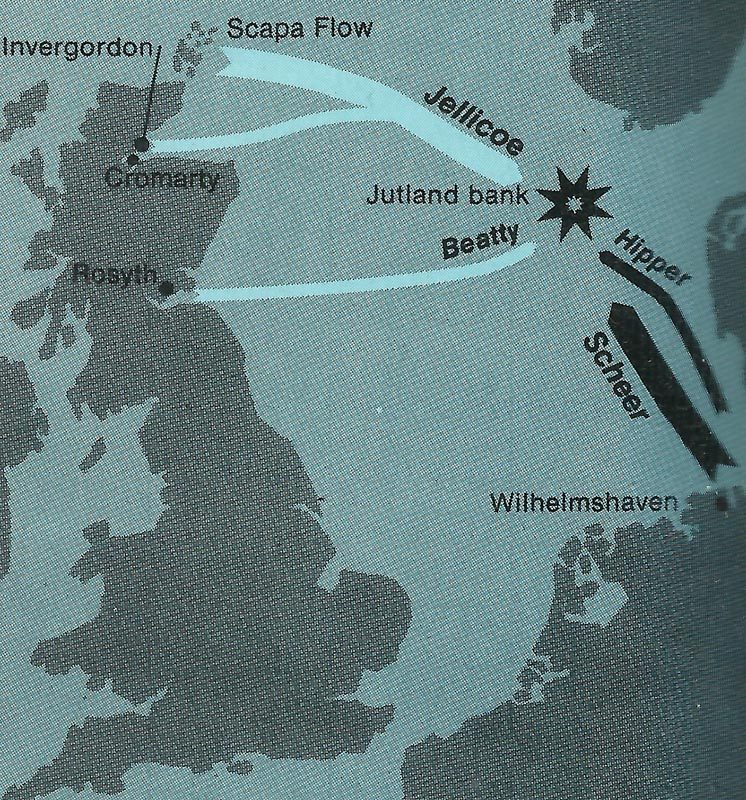
Following 2 years of shadow boxing, the spring of 1916 spotted both largest fleets on the planet on the water and steaming in the direction of the other. Whenever they got together, then a battle distinct from every earlier battled could be anticipated.
The spot of the action was Jutland Bank; the day May 1, 1916. In the following 48 hours some Twenty-five ships were to be sunk, along with nearly Nine Thousand seamen killed on both fleets.
The Naval Forces
Naval Forces:
Ships | British | German |
|---|---|---|
Scouting Forces | Beatty | |
Battleships | 4 | 0 |
Battlecruisers | 6 | 5 |
Light Cruisers | 14 | 5 |
Destroyers | 27 | 30 |
Battle Fleet | Jellicoe | Scheer |
Battleships | 24 | 16 |
Pre-Dreadnoughts | 0 | 6 |
Battlecruisers | 3 | 0 |
Armoured cruisers | 8 | 0 |
Light cruisers | 12 | 6 |
Destroyers | 52 | 31 |
The British ships together have 1,850 guns of all calibers, including the heavy artillery of 48 × 15-in, 10 x 14-in, 142 × 13.5-in, 144 x 12-in and 36 × 9.2-in.
The German ships together have 1,194 guns of all calibers, including the heavy artillery of 144 x 12-in and 100 × 11-in.
Orders of Battle:
Grand Fleet:
Squadrons | Commander | Ships |
|---|---|---|
Battle Fleet | Admiral Jellicoe | battleship Iron Duke (flagship) |
1st Battle Division | Vice-Admiral Burney | 7 battleships |
2nd Battle Division | Vice-Admiral Jerram | 8 battleships |
4th Battle Division | Vice-Admiral Sturdee | 8 battleships |
3rd Battlecruiser Division | Rear-Admiral Hood | 3 battlecruisers |
1st Cruiser Division | Rear-Admiral Arbuthnot | 4 armoured cruisers |
2nd Cruiser Division | Rear-Admiral Heath | 4 armoured cruisers |
4th Light Cruiser Division | Commodore Le Mesurier | 6 light cruisers |
4th Destroyer Flotilla | 19 destroyers |
|
11th Destroyer Flotilla | 1 light cruiser, 15 destroyers |
|
12th Destroyer Flotilla | 16 destroyers |
|
attached ships | 4 light cruisers, 1 destroyer, 1 mine-layer destroyer |
|
Battlecruiser Fleet (Scouting) | Vice-Admiral Beatty | battlecruiser Lion (flagship) |
1st Battlecruiser Division | Rear-Admiral Brock | 3 battlecruisers |
2nd Battlecruiser Division | Rear-Admiral Pakenham | 2 battlecruisers |
5th Battle Division | Rear-Admiral Evan-Thomas | 4 battleships |
1st Light Cruiser Division | Commodore Alexander-Sinclair | 4 light cruisers |
2nd Light Cruiser Division | Commodore Goodenough | 4 light cruisers |
3rd Light Cruiser Division | Rear-Admiral Napier | 5 light cruisers |
1st Destroyer Flotilla | 1 light cruiser, 9 destroyers |
|
9th Destroyer Flotilla | 4 destroyers |
|
10th Destroyer Flotilla | 4 destroyers |
|
13th Destroyer Flotilla | 1 light cruiser, 10 destroyers |
|
attached ships | 1 seaplane carrier |
German High Seas Fleet:
Squadrons | Commander | Ships |
|---|---|---|
Battle Fleet | Vice-Admiral Scheer | battleship Friedrich der Grosse (flagship) |
1st Battle Division | Vice-Admiral Schmidt | 8 battleships |
2nd Battle Division | Rear-Admiral Mauve | 6 Pre-Dreadnoughts |
3rd Battle Division | Rear-Admiral Behncke | 7 battleships |
4th Scouting Group | Commodore Reuter | 6 light cruisers |
Torpedo boats | 31 destroyers |
|
Battlecruisers (Scouting) | Vice-Admiral Hipper | battlecruiser Luetzow (flagship) |
1st Scouting Group | Vice-Admiral Hipper | 4 battlecruiser + flagship Luetzow |
2nd Scouting Group | Rear-Admiral Boedicker | 5 light cruisers |
Torpedo boats | 30 destroyers |
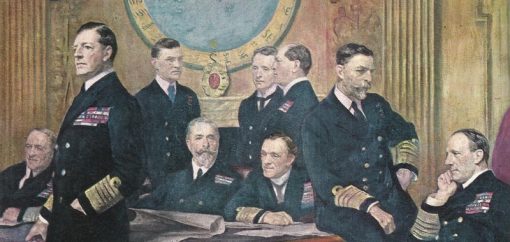
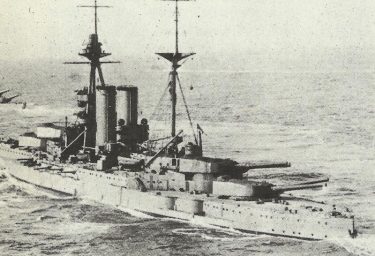
Battlecruiser action
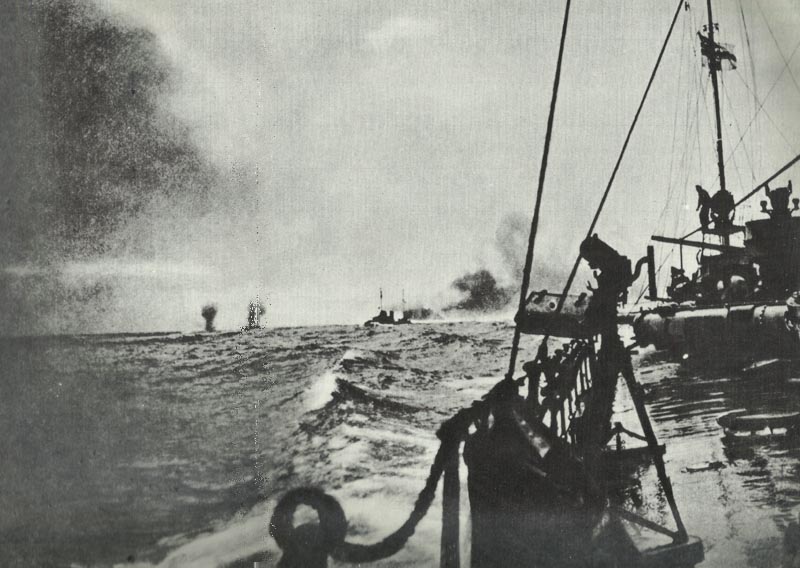
At 1420 hours on May 31, 1916, the Royal Navy light cruiser HMS Galatea showed the ‘enemy in sight’ signal and, together with her colleagues, proceeded to attack German light ships which had halted a neutral freighter.
The RN ships were attached to Admiral Beatty who, with 6 battlecruisers and 4 Queen Elizabeth class battleships, right away arrived to support. But the German light vessels also owned strong assistance in the kind of Admiral Hipper’s 5 battlecruisers: these as well encountered in, sighting Beatty at 1520 hours. It had been a wonderful, if hazy, spring afternoon and the location just west of the Jutland Bank. The largest, greatest and most controversial of sea battles was ready to begin.
Hipper was basically out to be observed, his job being to attract out a significant Royal Navy squadron, ideally Beatty’s, and steer it back into the hands of the main body of the High Seas Fleet for termination. This body, arranged around Sixteen battleships and 6 Pre-Dreadnoughts under the general control of Admiral Scheer, was following some 50 miles (ca. 80 km) towards the south, and if as planed Beatty moved to cut Hipper off from Germany, he would find himself definitely trapped between a couple of guns.
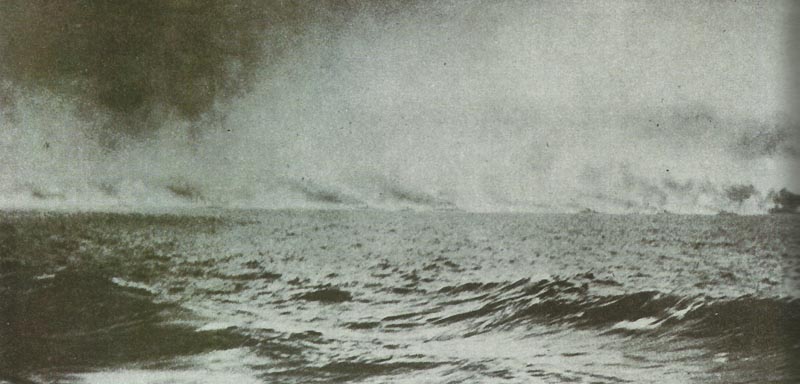
Sadly for German strategies, a lot of their schedule radio traffic had been reviewed and decoded by the British who, along with sufficient warning of an upcoming operation, had also sailed the entire accessible power of the Grand Fleet commanded by Admiral Jellicoe, whose Twenty-four battleships had been around 70 miles (ca. 113 km) to the north of Beatty.
For now, as they closed each other, not one battlecruiser commander had been informed of the existence of these massive fleet concentrations.
It had been 1548 hours until the enemy forces exchanged fire, the haze not enabling the Royal Navy to fire at a greater range of their bigger artillery, Hipper maneuvered to have the ranges limited, the paths parallel and the course southward in the direction of Scheer.
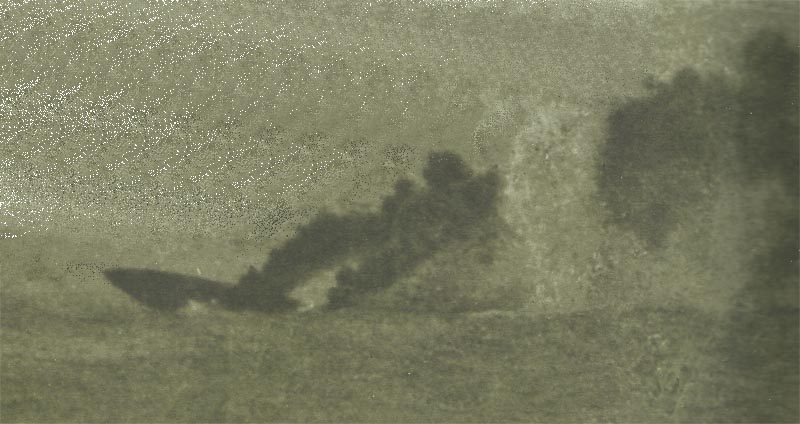
His firing was fast as well as precise and, at 1602 hours, battlecruiser HMS Indefatigable at the end of the Royal Navy line was affected by 3 multiple strikes, struggled with a blast and started to settle aft. One minute afterwards she got one more salvo ahead and diminished in an enormous magazine blast.
In a few minutes, the slower new battleship HMS Queen Elizabeth had hurried within range, and her forward 15-inch guns started to penalize the end of the German battle line.
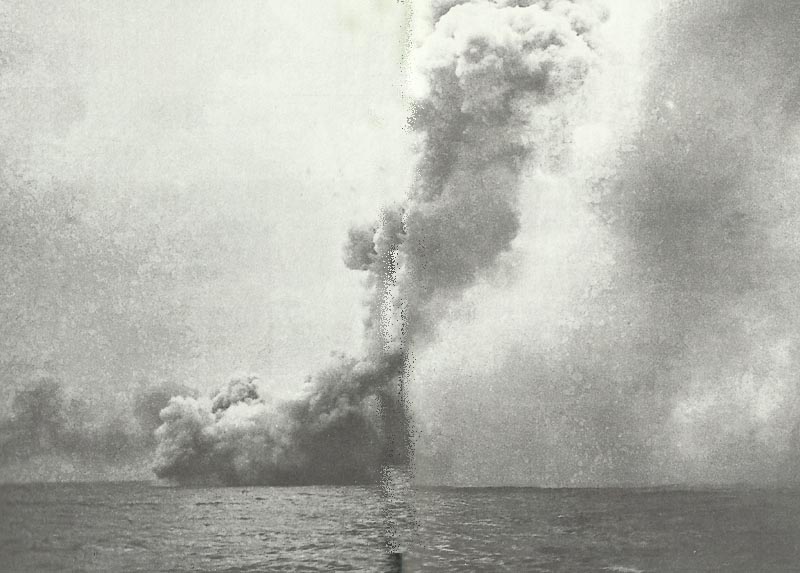
Beatty impetuously attacked to close further and paid the charge at 1626 hours, when the German gunners located battlecruiser HMS Queen Mary: a number of hits amidships occurred most likely in flash penetrating right down to ‘Q’ turret handling room and magazine, the vessel splitting in two in a number of enormous explosions.
HMS Lion, Beatty’s flagship, had barely missed an identical fate when hit at 1600 hours.
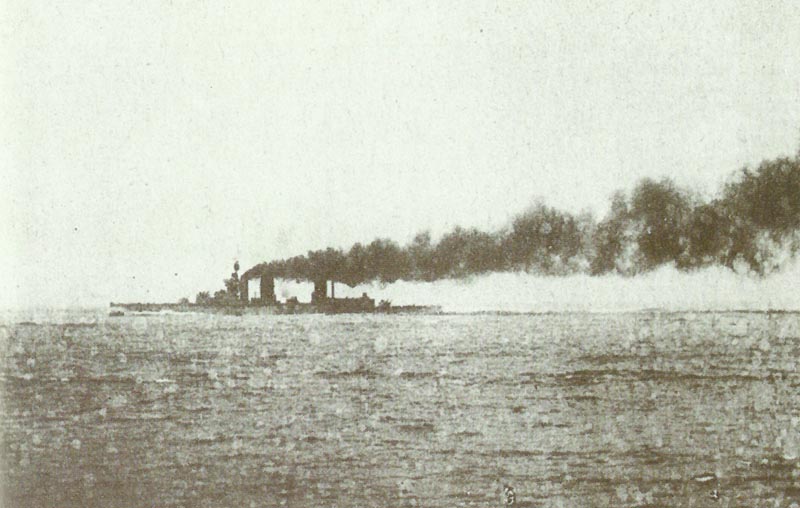
Right prior to the fate of the Queen Mary, each Beatty and Hipper had ordered destroyer torpedo strikes on the other to reduce pressure. Under this fresh hazard, Hipper broke off the battle briefly at 1636 hours by a turn to THE eastward. At this point, nevertheless, the Light cruiser HMS Southampton, commanded by the notable Commodore Goodenough, positioned a bit in front of Beatty, spotted the lead warships of Scheer’s main body arriving up from the south. Hipper had carried out his task perfectly and the stage was at this point Beatty’s.
Despite the fact that shocked by the moving armada, Beatty didn’t delay being destroyed, rotating on his heel at 1646 hours and choosing the fastest course to Jellicoe’s location, at this point some 50 miles (ca. 80 km) towards the north-west. Beatty had now ended up being the lure, the options for serving up the unaware Scheer, right now in joyful entire cry, into the thankful arms of the Grand Fleet. To perform this successfully, he had either to stay alive as well as guarantee that Hipper’s marauding battlecruisers didn’t spot Jellicoe too soon.
Battle Fleet action
Beatty’s joined battleships were somewhat late in carrying out the 16-point turn however, falling in astern, protected his rear and, between 1650 hours and 1730 hours, made good effect on the Germans, inflicting Twenty hits for just Thirteen in exchange. Hipper continued to be tenaciously in touch with Beatty, the bad view which restricted their exchanges steadily boosting in preference to the latter who, with the decreasing sun behind him, succeeded in pressuring an opponent disengagement at 1751 hours.
By switching away, nevertheless, Hipper encountered problems in running straight into a brand-new adversary in the kind of Rear Admiral Hood’s 3rd Battlecruiser Squadron however succeeded in rotating south-west and earning sanctuary at the head of Scheer’s High sea fleet, which was directing about north-east. The time was 1810 hours and, between them, Beatty and Hood had prevented the greatly penalized Hipper from spotting Jellicoe’s Grand Fleet.
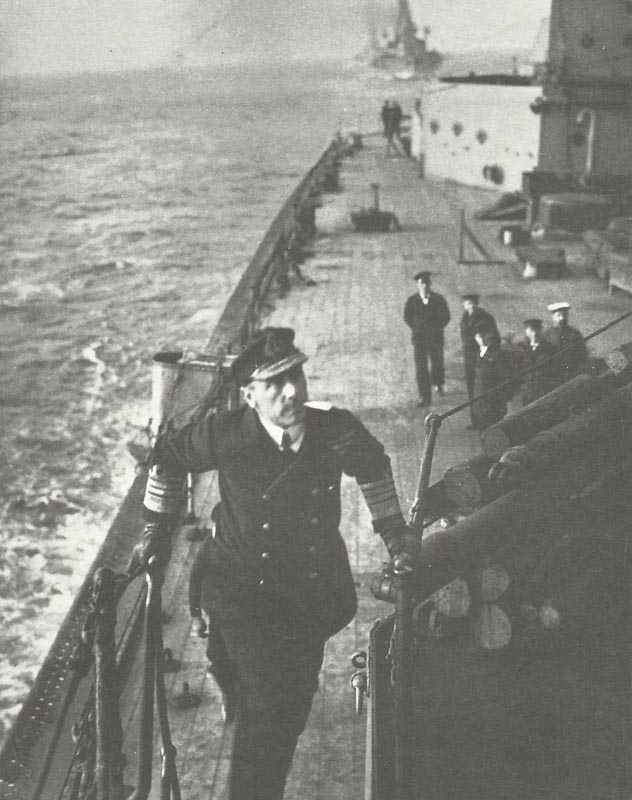
No more than 12 miles (ca. 19 km) at this moment lay between SMS Koenig at the head of the German line from HMS Marlborough, the nearest of Jellicoe’s battleships. These were steaming in 6 parallel columns of four battleships each and required to be deployed into a battle line straight away. This maneuver would take a minimum of Fifteen minutes and also had to be accurate very first time. Jellicoe was uncertain due to a lack of trustworthy details on the German High Sea fleet’s speed, bearing, and deployment.
At this moment at 1814 hours Beatty, in the quickly narrowing space between both fleets, made contact, the Marlborough spotting his gun flashes. Jellicoe acted quickly, deploying into battle line on his port column, directing to the east with the port column leader HMS King George V at the front of himself, in the flagship HMS Iron Duke, being 9th in the line.
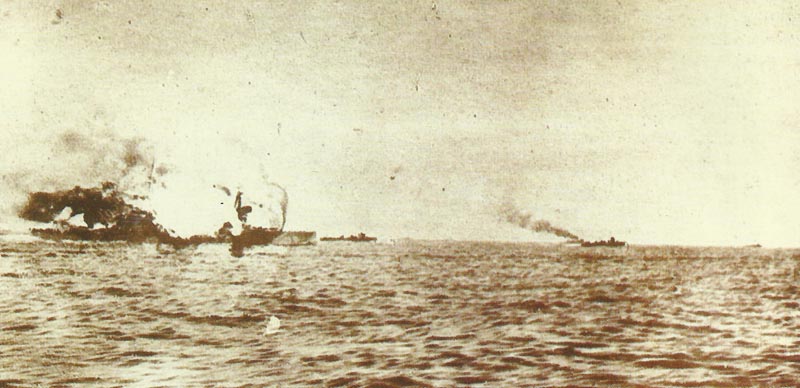
With the Queen Elizabeth providing up the rear, the Grand Fleet displayed a powerful wall of guns some 6 miles (ca. 10 km) in size, and not a minute too soon, Even as they maneuvered in place, the Queen Elizabeths’ of the 5th Battle Squadron spotted the German battle line at close range. They got heavy fire, at which moment HMS Warspite‘s helm jammed, resulting in the ship to move a pair of full circles and to suffer thirteen large-caliber hits.
At the head of the British line, Beatty and Hood were once more dealing with the opponent when HMS lnvincible was hit, exploding even as had the other 2 battlecruisers prior to her.

The British line had, at this point, successfully ‘crossed the enemy’s T’ and was delivering an incredible fire into the head of Scheer’s line, which was in an inadequate situation to answer.
At 1833 hours, for that reason, Scheer risked all with a synchronized 16-point turn away; peacetime exercise paid off as, without having collision, the German line simply dissolved from the eyesight of the British gun layers. Jellicoe’s battle line swung to the south-east by divisions and might have missed the Germans, who were heading westward, but for the tenacity of Goodenough’s scouting cruisers.
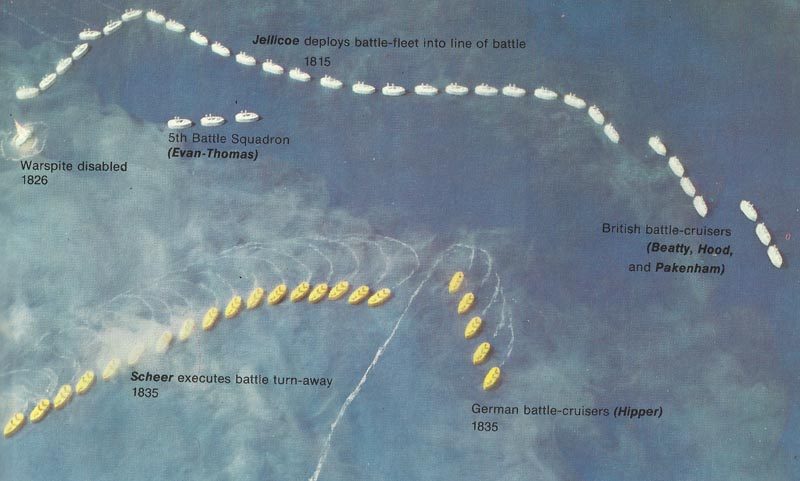
Probably not really admiring his advantageous situation, Scheer at this point unexpectedly once more flipped 16 points, running straight at the British who, with the gloom at their backs, made the best of their opportunity, causing around Thirty-five rapid hits virtually without respond.
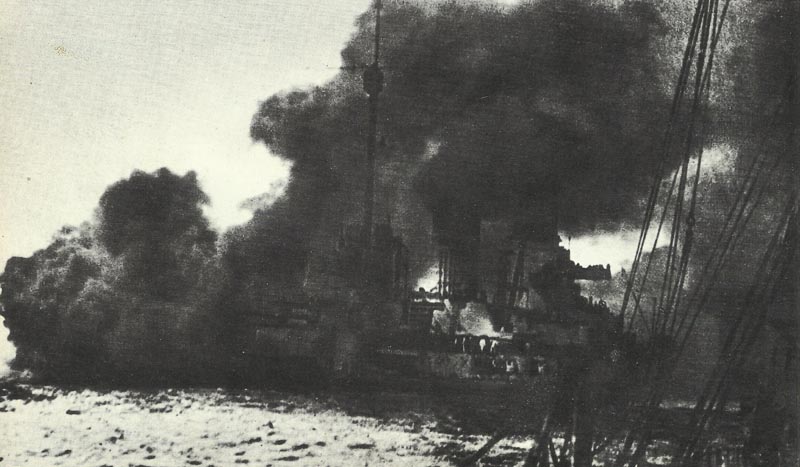
Hipper’s flagship Lützow had forced to retire with critical damage, but Scheer dispatched the remainder 4 battlecruisers, currently severely damaged themselves, on a suicidal attack at Beatty, synchronized with a destroyer assault. These distractions have been effective and, as Jellicoe turned away in front of the risk of the torpedoes, Scheer managed to execute a 3rd about-turn.
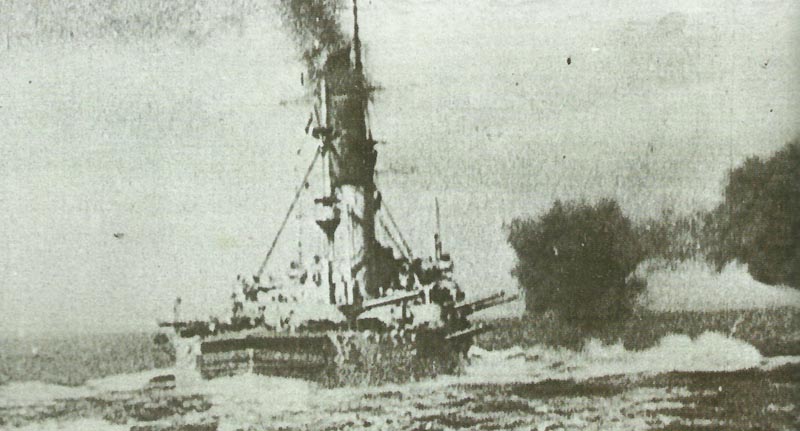
Minimal sunlight remained and the Grand Fleet had become disengaged, between 1935 and 2000 hours, the British fleet really intentionally returning around onto a westerly course. Sunset was at 2019 hours and the German High Seas fleet was in a ragged line heading southward for the Horns Reef channel and Germany.
The battlecruisers remained in contact, and Beatty started to present eagerness at Jellicoe’s obvious deficiency of urgency in making a choice by cutting off Scheer’s line of retreat. Even as Hipper’s vessels turned out to be small however darkish silhouettes, Beatty stayed, pushing him hard.
Night action
Jellicoe didn’t like a night battle, which would discard his numerical edge on a chancy encounter for which the Germans were, whatever the case, superior skilled. At 2045 hours, when a cruiser informed the British lead vessel, King George V, that German battleships were just 5 miles (ca. 8 km) well away, the contact wasn’t prosecuted for the reason that they were likely Beatty’s battlecruisers.
The British admiral prepared his night dispositions in the thought that Scheer couldn’t move across his bows and would be avoided from traveling astern through his stationing there of massed destroyer flotillas. Battle could be resumed at daybreak.
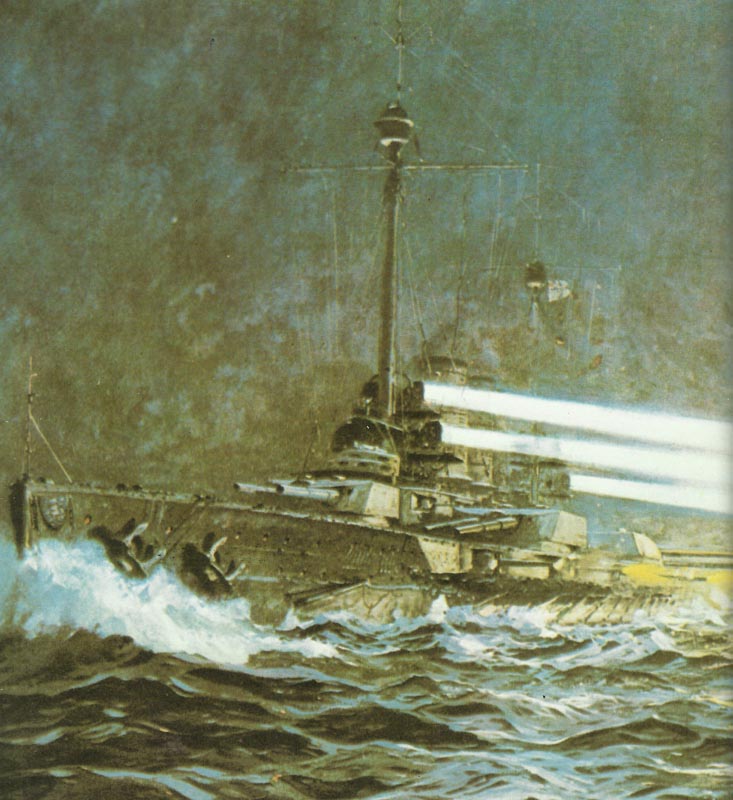
Scheer didn’t collaborate, his battle line moving gradually through Jellicoe’s light forces. These struggled bravely and at great sacrifice however in vain; without having major warships they couldn’t stop the Germans flooding through.
Really amazingly, these furious fighting had been noticed by the end of the British battle line, the battleships neither intervening nor informing Jellicoe of what had been happening.
By 0100 hours on June 1 Scheer had broken through and, despite the fact that still tested by light forces until 200 hours, not any more had the Grand Fleet athwart his way to Germany. Around 300 hours the Iron Duke turned about.
The Battle of Jutland was over.
Losses at Jutland
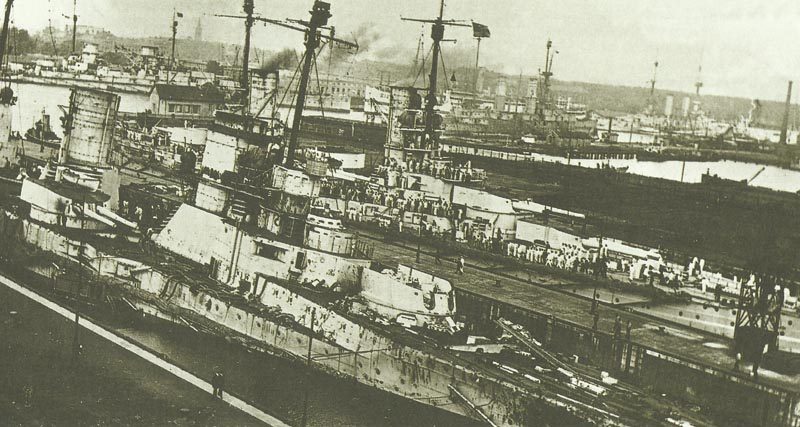
The Royal Navy had lost 3 battlecruisers, 3 armored cruisers as well as 8 destroyers to a German Pre-Dreadnought (by torpedoes during the night action), a scuttled heavily damaged battlecruiser, 4 Light cruisers and 5 destroyers or torpedo boats. Crew losses were 6,100 British to 2,550 German killed.
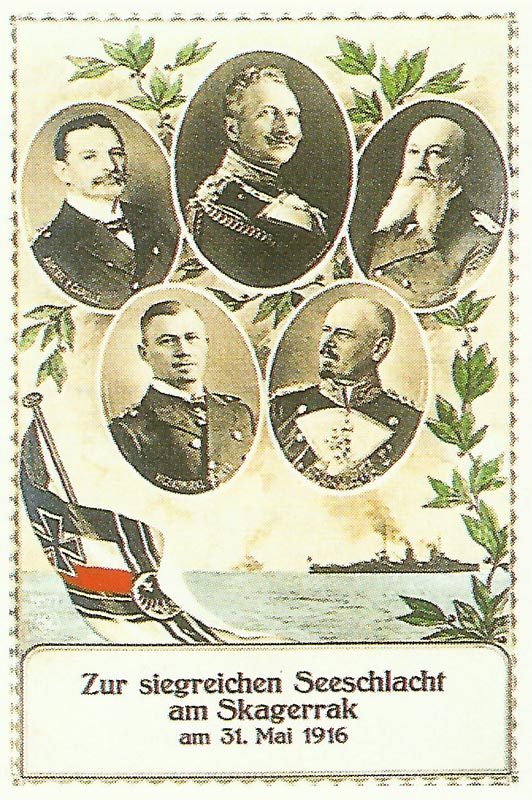
Nevertheless, the victory that the Germans claimed was worthless for, tactically, no beaten fleet ever pursued a victor back to harbor and, strategically, the situation at sea had not improved.
But of course, if an outnumbered force inflicts more casualties on the stronger one and isn’t wiped out, it’s for sure a great success. And additional, the original goal of the German fleet operation was also successful: to destroy are numerous British cruisers or battlecruisers.
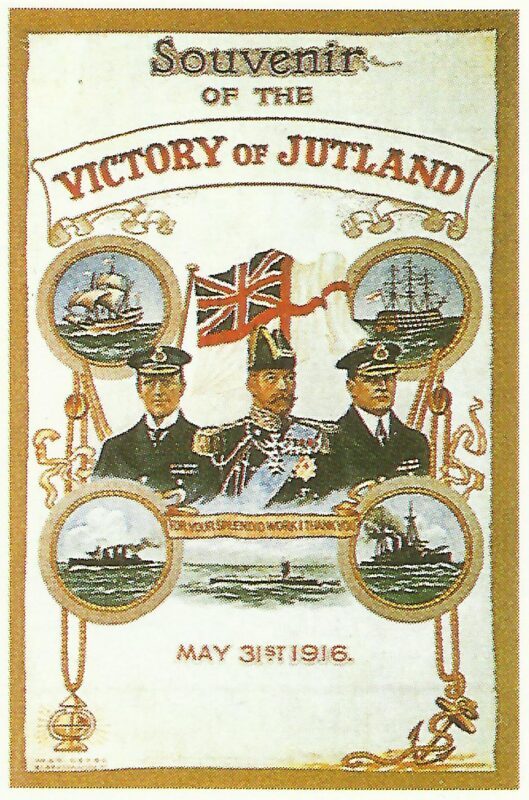
British gunnery had been the higher quality, a lot more German vessels being seriously damaged, but the High Seas ships survived because of their superior design, because a higher proportion of their displacement had been dedicated to protection as well as due to the fact British shells seemed to explode on contact instead of on penetration.
During the battle, the Germans showed good use of their knowledge of British challenges and reactions. While the British light forces held fire through insufficient positive enemy identification, the Germans would instantly overwhelm them with searchlights and gunfire. Additionally, they bluffed to good effect, saving a number of damaged vessels thereby. Lousy British leadership that night was applied.
It has been said the Jellicoe, cautious and heavily aware of his responsibilities, ‘fought to make a German victory impossible rather than a British victory certain’. That about sums it up probably.
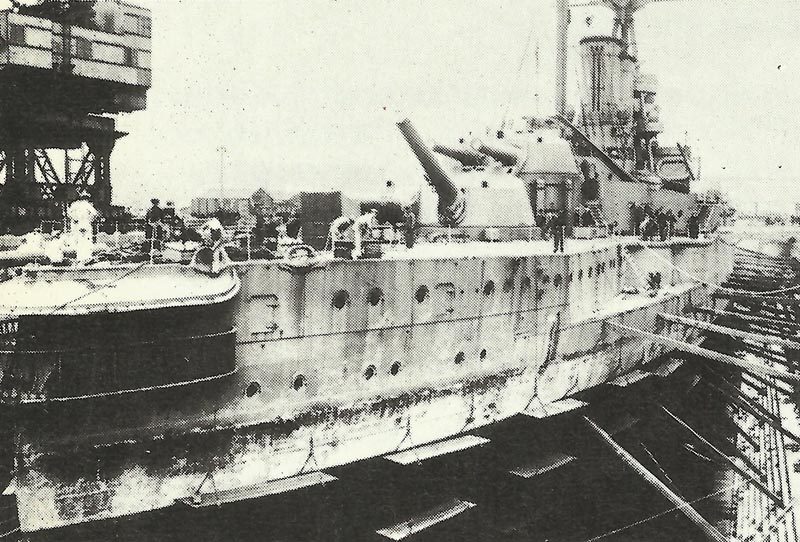
Losses in the battle of Jutland:
| British | German | |
|---|---|---|
| Killed, wounded, PoWs | 6,784 | 3,039 |
| Tons sunk | 113,300 | 62,300 |
| SHIPS SUNK: | ||
| Pre-Dreadnoughts | 0 | 1 |
| Battlecruisers | 3 | 1 |
| Armored cruisers | 3 | 0 |
| Light cruisers | 0 | 4 |
| Destroyers, Flotilla leaders, Torpedo boats | 8 | 5 |
| SHIPS DAMAGED: | ||
| Battleships, Pre-Dreadnoughts | 4 | 12 |
| Battlecruisers | 3 | 5 |
| Destroyers, Flotilla leaders, Torpedo boats | 10 | 5 |
List of sunken ships:
Ships lost in the battle of Jutland:
British | German |
|---|---|
battlecruiser HMS Queen Mary | battlecruiser Luetzow (scuttled) |
battlecruiser HMS Indefatigable | pred-dreadnought Pommern |
battlecruiser HMS Invicible | light cruiser Frauenlob |
armoured cruiser HMS Defence | light cruiser Wiesbaden |
armoured cruiser HMS Warrior | light cruiser Elbing (scuttled) |
armoured cruiser HMS Black Prince | light cruiser Rostock (scuttled) |
destroyer HMS Tipperary | torpedo boat V 48 |
destroyer HMS Nestor (scuttled) | torpedo boat S 35 |
destroyer HMS Nomad (scuttled) | torpedo boat V 27 |
destroyer HMS Turbulent | torpedo boat V 4 |
destroyer HMS Sparrowhawk | torpedo boat V 29 |
destroyer HMS Shark | |
destroyer HMS Fortune | |
destroyer HMS Ardent |
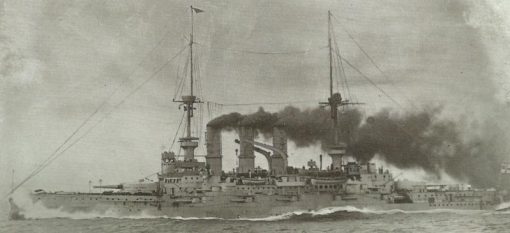
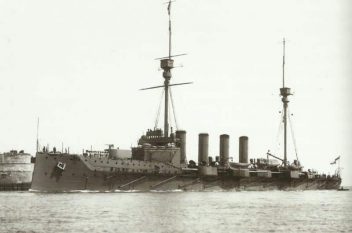
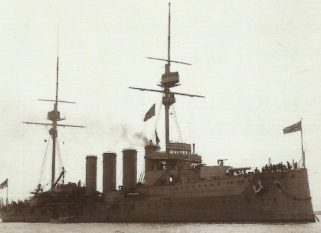
Some of the lost ships:
Weapons performance in the battle of Jutland:
| British | Germans | |
|---|---|---|
| fired shells | 4,598 heavy (light unknown) | 3,597 heavy; 9,252 light |
| hits | 100 heavy, 42 light | 120 heavy, 107 light |
| Hit rate of heavy guns | 2.17 % | 3.33 % |
Fighting Power at Jutland:
Strength of Forces British:German = 8:5
Losses British:German = 1.8:1
Resulting fighting power British:German = 1:2.88


