With Australia through a test game in the scenario ‘1939 – Historical World War’ in the free browser strategy game Call of War.
Gaming fun with Australia in Call of War

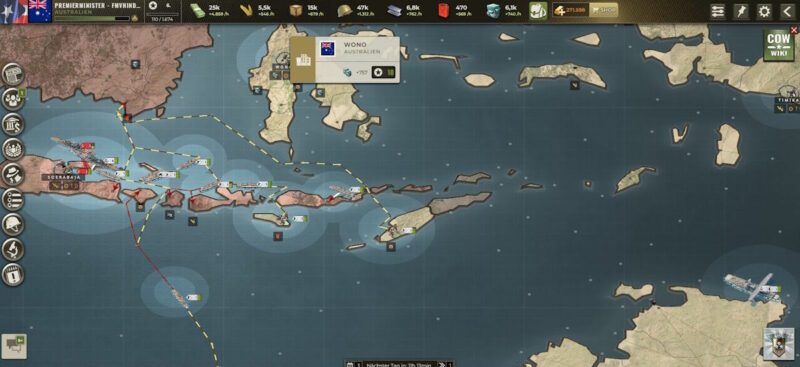
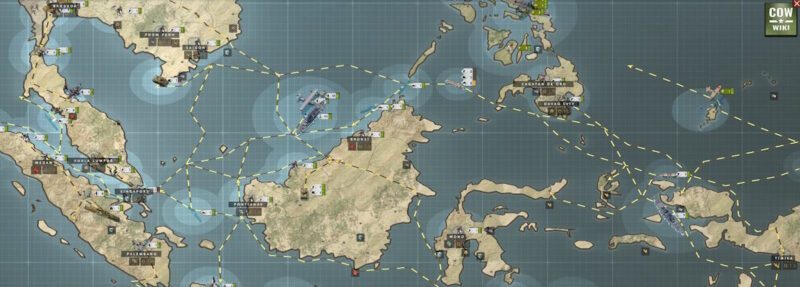
On day 3, the minimum objectives of the operational plan in the Dutch East Indies had almost been achieved, and even the larger Celebes Island with the city of Wono had already been conquered.
On the left, the Australian task force fights one of the remaining Dutch cruisers, while behind it landing forces approach to invade the numerous, small islands. At the bottom right, the first aircraft carrier is ready, but so far only equipped with one naval bomber.
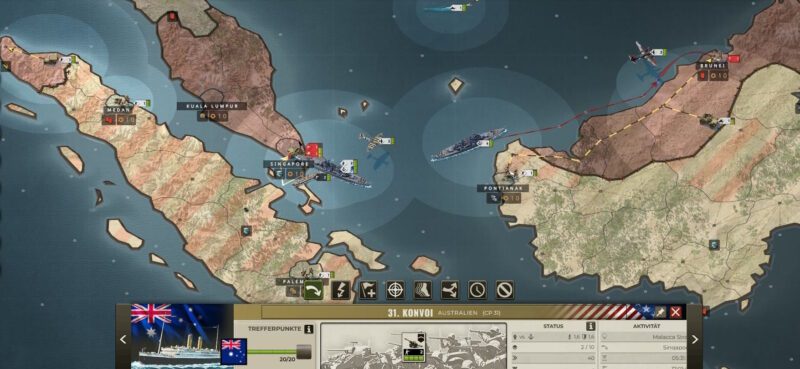
By Day 5, almost all the Dutch East Indies had been occupied and the invasion of Singapore, Malaya and North Borneo, which belong to Britain, is just beginning. The attacks are supported by fire from fleet units, which include battleships, as well as tactical bombers and backed up by fighters, all of which have been deployed from two aircraft carriers.
Since the relatively weak enemy ground forces could be destroyed by the guns of cruisers and battleships or tactical bombers throughout the previous operations, even minimal land forces of their own were necessary.
The British player had become inactive in the meantime, and therefore such a military operation was relatively risk-free. However, it should be noted that with inactive or AI-directed nations, it is nearly impossible to return later to a state of peace or at least ceasefire. This subsequently made British naval forces in the South China Sea (off Hong Kong) somewhat disruptive.
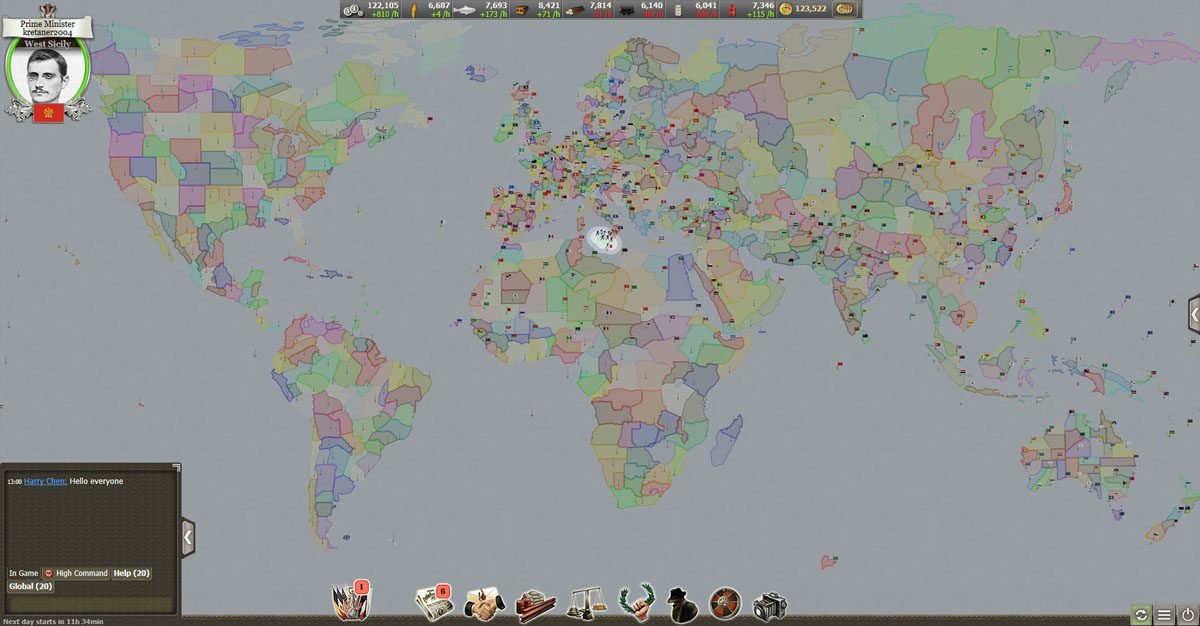
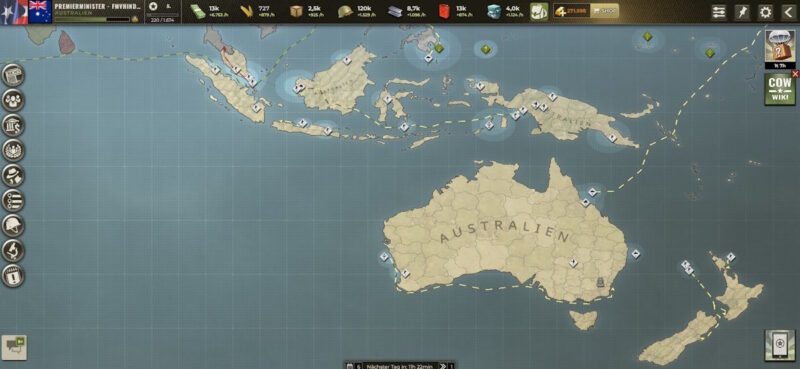
Day 6 expansion of the ‘Australian Empire’: New Zealand, all the Dutch East Indies, Malaya, Singapore and North Borneo were conquered.
Try to Play Call of War here:
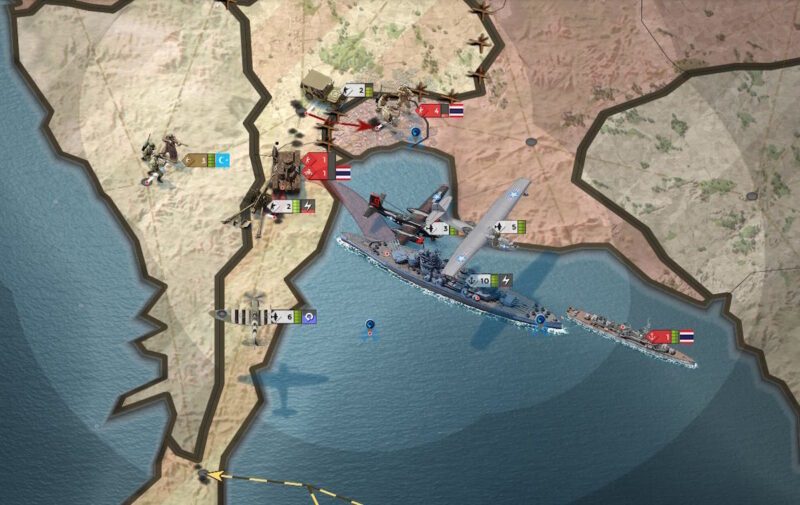
The next logical step was to annex the AI nation of Siam (Thailand). However, the AI acts more dangerously than an inactive player, so this operation was only successful with the massive support of the fleet task force of ten ships (2 aircraft carriers, 2 battleships, 3 cruisers and 3 destroyers), three tactical bombers and five naval bombers from aircraft carriers and six fighter planes from the south, as too few ground troops were deployed. However, as long as the battle areas can be shelled from battleships and cruisers, their fire often has a decisive effect.
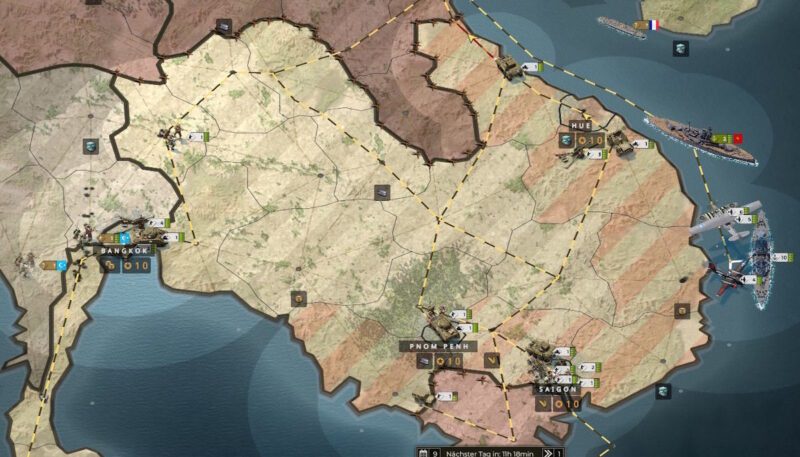
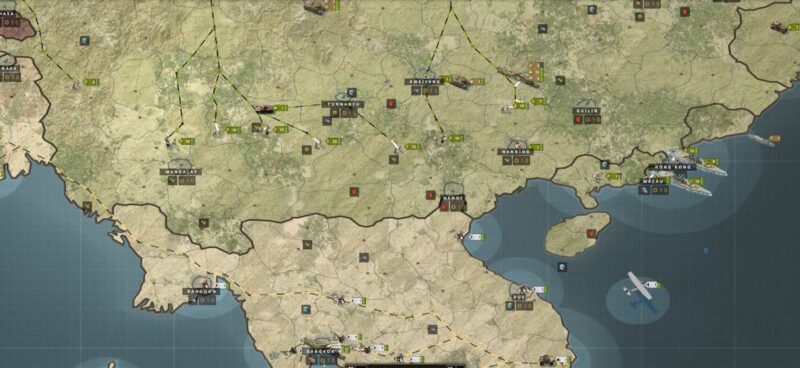
By Day 9, a lot had happened militarily: a coalition of the U.S., China and Brazil had attacked the Soviet Union and Japan, respectively. Since Australia had friendly relations with both the Soviet Union and Japan, the decision was made to intervene. Together with Japan, the Philippines – which had been part of the USA from the beginning – were occupied quite easily.
At the same time, the invasion of Indochina took place, which in the meantime had been taken away from the French by National China. Since the enemy had left no troops here, Indochina could be occupied quite quickly.
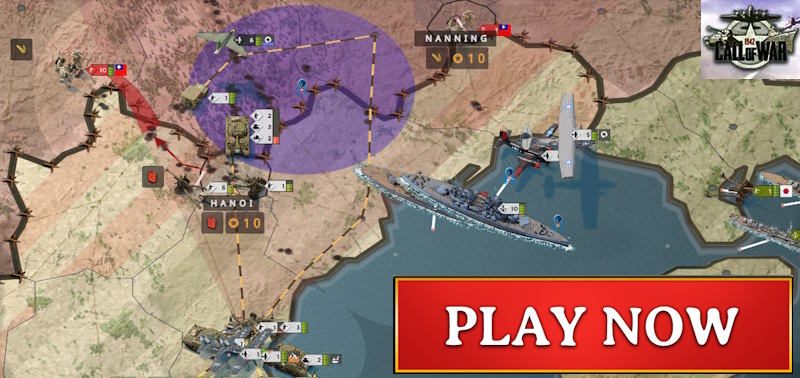
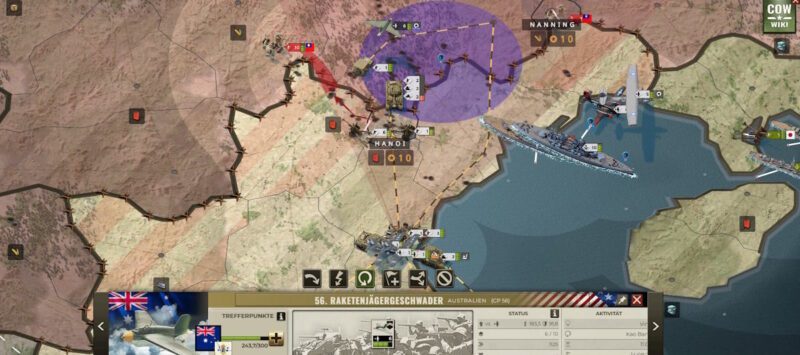
The advance succeeded up to about the height of Hanoi, but then massive Chinese reinforcements arrived and the enemy was able to constantly produce and throw new militia and tanks to the front even in his nearby core province cities. This resulted in fierce and losing battles in the Hanoi area, which constantly surged back and forth. Only through the use of the fleet, ground-attack planes, tactical bombers and air cover by the new rocket fighters brought in by the Australian air defense could the front be held more badly than well.
Since the friendly Soviet Russia had given up in the meantime and the battles in the north of Indochina could only be fought very time-consuming and with high losses and a defeat was more probable than a victory, I knocked on National China’s door for a ceasefire. To my surprise and relief, this was accepted, allowing the reorganization of troops, defenses and city expansion.
The most important advantage, however, was that Australia will be able to launch nuclear missiles on many important Chinese cities, including the capital, from the Bangkok area or north of it at any time in a few days, while the same was completely impossible for National China – even with long-range nuclear bombers, all of which would probably be shot down by air defenses in Australia.
At the same time, the U.S. also asked for a peace deal, which was agreed to.
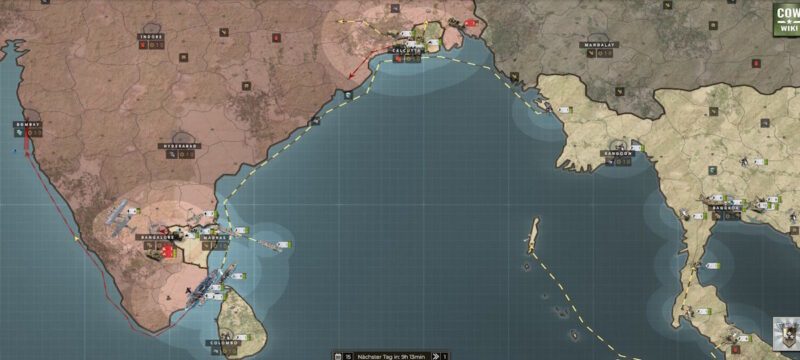
While the expansion of a strong defensive position around Bangkok (with long-range rail guns, bunkers, air defense by rocket fighters and anti-aircraft guns at the main airfield in Malaya) was advanced, the now freed units could be used for a naval invasion of India. British India, which was run independently of Great Britain by another player at the start of the game, had been unoccupied for some time and was run by the AI in the meantime.
So here again a relatively strong and active AI had to be fought, and the tough and tedious battles took several days until the whole country was conquered. Here, for the first time, the problem arose that while Australia was excellently equipped for naval warfare or in battles in coastal regions, as soon as the advances had to be carried further inland, the important fire support from battleships and cruisers fell away, so that aircraft – which were mostly deployed from aircraft carriers – became an essential aid.
After the Soviet defeat by National China and the U.S.A., Australia joined a coalition of the German Reich and France, but of the latter the player was already inactive. The German Reich now began an eastern campaign into Russia, which had been conquered by the Chinese, and was of course attacked by its ally the U.S.A..
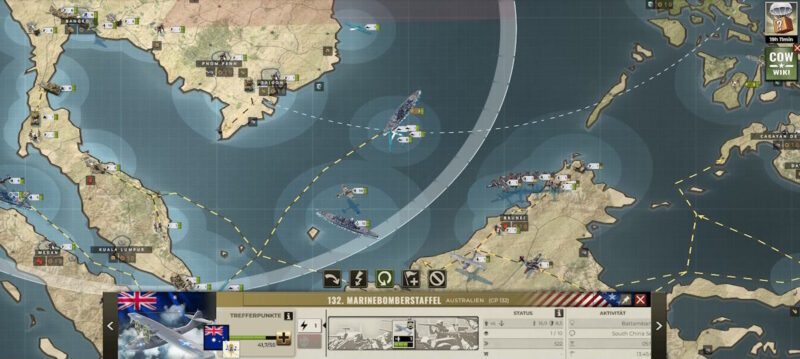
While the fighting in India was still going on, on Day 18 the U.S. fleets stationed in the North China Sea near Hong Kong, which consisted almost entirely of battleships, attempted to run directly through the secret Australian military area between Indochina, Borneo, Singapore, and Sumatra, where defensive positions were being established and preparations for missile bases were underway. These or the Australian fleet stationed there could have been attacked at any time.
Since the American was therefore not to be trusted, after a brief warning the Australian submarines massed on the route attacked and tied up the U.S. battleships there in a naval battle. Simultaneous air strikes by all available naval bombers and tactical bombers took place. Since the numerous U.S. battleships (more than 10 in several groups) had little protection from destroyers and cruisers, this was a fairly one-sided engagement, although almost all of the Australian submarines were sunk, since they were only Level 1 and originally intended only for patrol and reconnaissance missions.
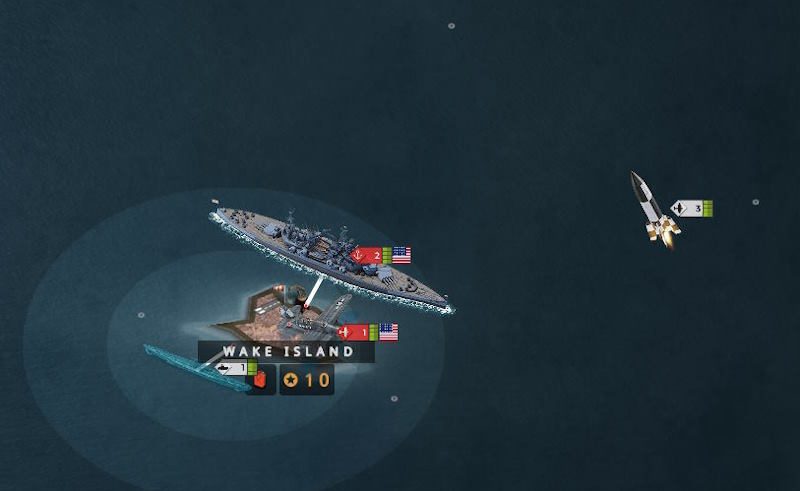
Since Australia was now again in the war with the U.S.A., which carried out for days also already rather unabashedly with agents sabotage and reconnaissance activities in Australia, three conventional missiles were fired at the same time from Australian Knox Atoll – the far northeast base in the Pacific – on Wake Island, where battleships and airplanes were built and shortly before a straight new available atomic bomber was, which could have bombed almost already as level 1 bombers the Australian city Port Moresby.
After the impact of the three conventional missiles, no stone was left unturned on Wake Island and the morale of the population deteriorated to such an extent that the island joined friendly Japan and henceforth no longer posed a threat.
In the meantime, National-China had realized that Australian nuclear missiles could shortly threaten its major cities, while it was unimpressed by the performance of its American ally. At the same time, Brazil became inactive as the third partner in this coalition.
Therefore, National-China contacted the German Reich to join our coalition instead of France, which was also inactive. Since a change of coalition is possible only after three days, we agreed on the status ‘Divided Map’ for the time being. In this case, one can move over the other’s territory and one can also see all his troops and reconnaissance results.
Since this political change threw out the previous plans of using nuclear missiles against China, which were to be built in a specially prepared armament center in Batavia and then launched several at a time from the Bangkok area, Australian forces were now to attack the U.S. and Brazil across the Pacific. This required a considerable reorganization and shift of troops and made the use of the nuclear missiles carrying only 800 km impossible for the time being, so that now also the research of the further nuclear bombers was started.
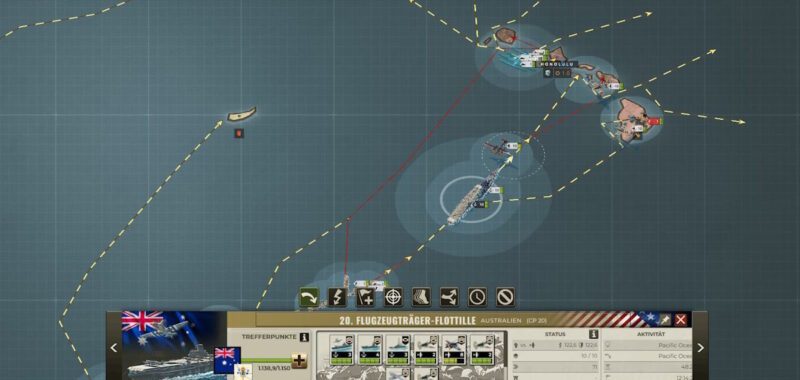
Two days later (day 21), the first invasion force arrived off Hawaii. In the meantime, the six battleships, together with two cruisers and destroyers, were combined into a strong artillery unit for land bombardment. In addition, there were two aircraft carrier formations, each consisting of three carriers with 30 aircraft each, plus backup from a total of three to four cruisers and three to four destroyers each. The battleship group and one aircraft carrier group covered the landing ships off Hawaii, while the other aircraft carrier group advanced through the South Pacific.
Supported by numerous submarines, the conquest of strategically important Hawaii was thus a fairly straightforward affair.
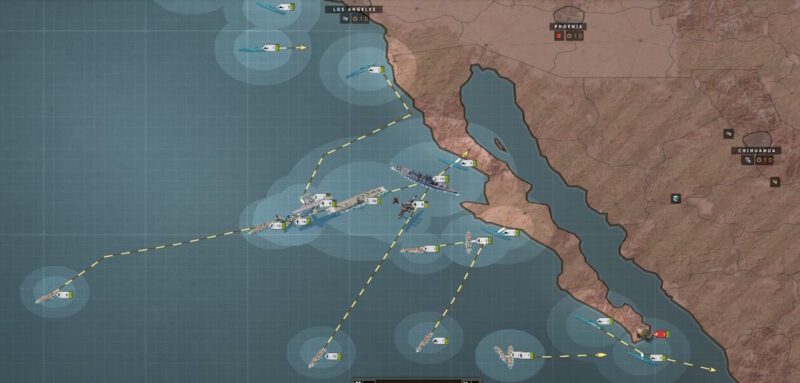
The next day, the invasion force was already approaching the southern California coast, Mexico’s Baja Calaifornia. The goal of the operation was originally only a diversion from the landing in South America and to gain air bases close to U.S. cities in the west in order to be able to attack them with the nuclear missiles already produced. The long, southern California peninsula was easily defended at its northern end for this purpose. Anti-aircraft units were withdrawn from Australia, which in the meantime could no longer be reached by U.S. atomic bombers, in order to provide protection against them in southern California.
For this purpose, fast armored cars and motorized infantry were to penetrate deep into U.S. territory to create confusion.
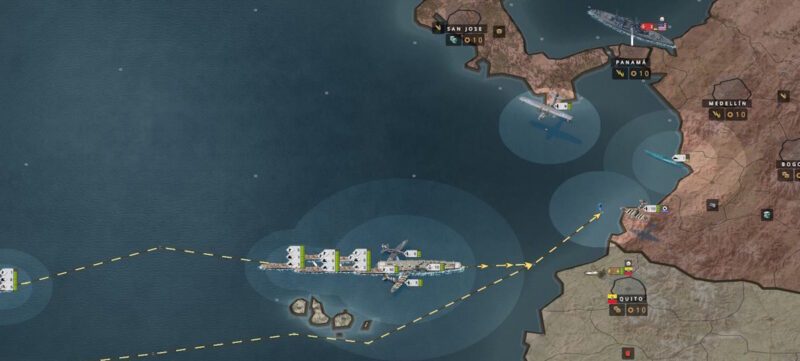
At the same time, the mass of landing troops, together with an aircraft carrier group, approached Colombia, which was occupied by Brazil. Brazil had been abandoned by its player for days and was now led by the AI. Assuming that this would be easier than conquering the USA, the main landing was to be just below Panama. Subsequently, the Panama Canal was to be closed and defended against attacks from Central America, while the Brazilian territory was to be conquered.
For the blocking of the Panama Canal, some rail guns were carried from their positions in Australia, as well as anti-aircraft units against atomic bomber attacks. This succeeded admirably, for numerous U.S. units marching north of the Panama Canal were smashed by the long-range guns, while on the first night three U.S. atomic bombers were shot down off California and over Panama by the AA-guns and rocket fighters.
In all, six U.S. atomic bombers were destroyed over the next two days and none reached their targets.
After there had been several attempts by U.S. atomic bombers to attack Australian forces during the night, all of which could be thwarted, a nuclear bomber that had arrived in the meantime at the newly constructed airfields in southern California was sent against Denver, and one of the nuclear missiles also – originally built for the now allied National China – was launched against Phoenix. Both reached their targets and destroyed the two cities.
In addition, the armored car and motorized infantry units penetrating deep into the U.S. and Mexico made good progress in the meantime.
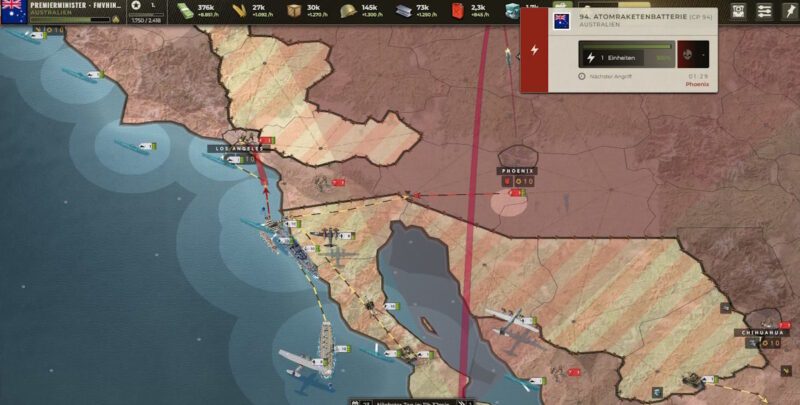
After six U.S. nuclear bombers were destroyed without success, U.S. forces were crushed north of Panama and near California, and Australian fast motorized units pushed deeper and deeper into the U.S., the United States player gave up and left his country without administration. This largely inactive state lasts at least 48 hours before the AI takes over, making it also the easiest possible opponent.
Since another nuclear bomber – this time of level 2 with increased range and effect – had been built and arrived in the meantime, a symbolic nuclear strike against New York took place on day 25.
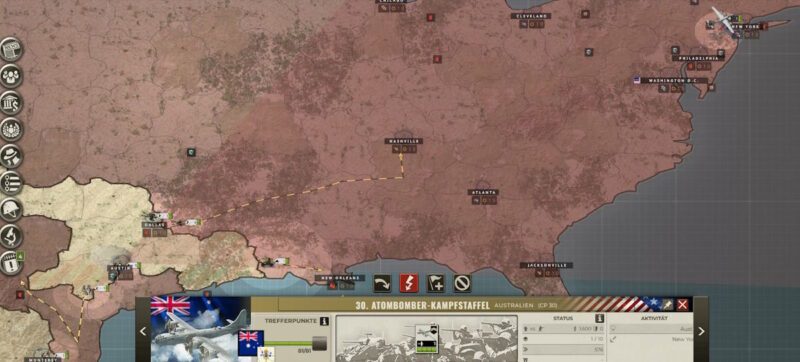
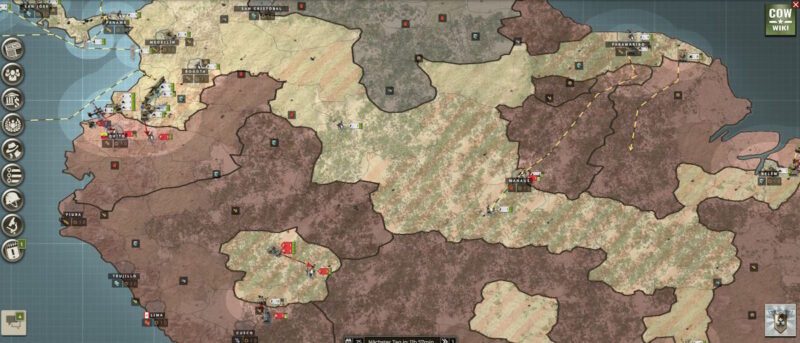
Meanwhile, while things went well and quickly in the US, Canada and Mexico, the situation in South America against the fairly active AI was not quite as easy as originally planned. The focus of Australian research so far has been on naval and air units, so deficiencies in land forces were quite noticeable, especially when fighting took place far from air bases or from the coast with cruisers and battleships as artillery support.
To make matters worse, in the middle of the night, the AI nations of Ecuador and Peru declared war, throwing the operational plan against Brazil out of whack, and had to be fought as well. AI nations can also declare war on a human player if the latter’s popularity has suffered too much due to certain diplomatic behaviors (declarations of war, raids, betrayals) – and Australia had attacked numerous states so far!
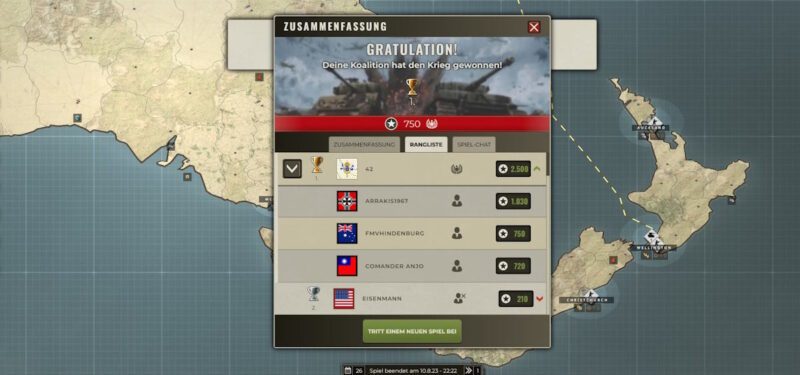
However, before the situation in South America could be properly cleared up and all the cities in the USA occupied, the game then suddenly ended on day 26 with the victory of our coalition, which had achieved the required number of points by controlling cities around the world. Just then, the most modern nuclear bomber of level 3 was still on its way to North America and to attack the capital Washington, but could not be deployed anymore.
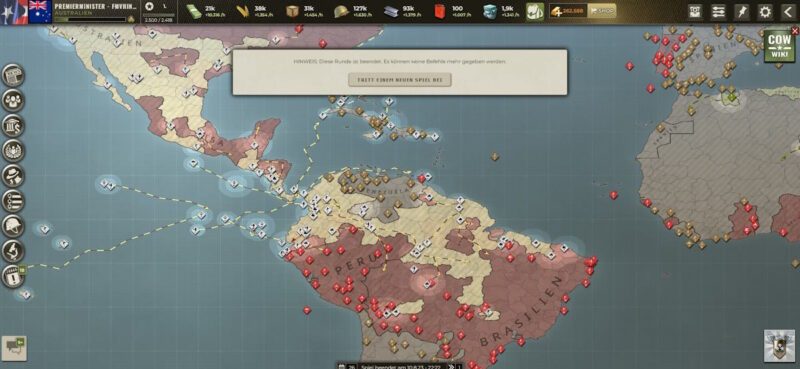
For beginners in Call of War, the author recommends starting with Australia – and several times if necessary. Due to its remote location and relatively good economic conditions and easy prey all around, the country is an excellent starting point to explore the game mechanics!
Try to Play Call of War here:


